Advanced Smartnode Configuration for Docker Mode
In this section, we will cover a few techniques that expand the Smartnode's customization and functionality.
Allowing External Validator Clients to Connect to the Smartnode
Because the Smartnode manages the Execution client and Beacon Node, it handles much of their configuration (including updates) automatically. One common request from users is for the ability to attach an externally-managed Validator client to the Smartnode's Execution and Consensus clients.
Essentially, this acts as a sort of "Reverse Hybrid" mode; instead of the Smartnode managing its own Validator client and connecting to an external Execution and Consensus client, it manages all three things and an external Validator client can use its own clients instead.
Enabling this is trivial using the Settings Manager.
Execution Client
To enable access to the Execution client, go to the Execution Client (ETH1) category and check the Expose RPC Ports box:
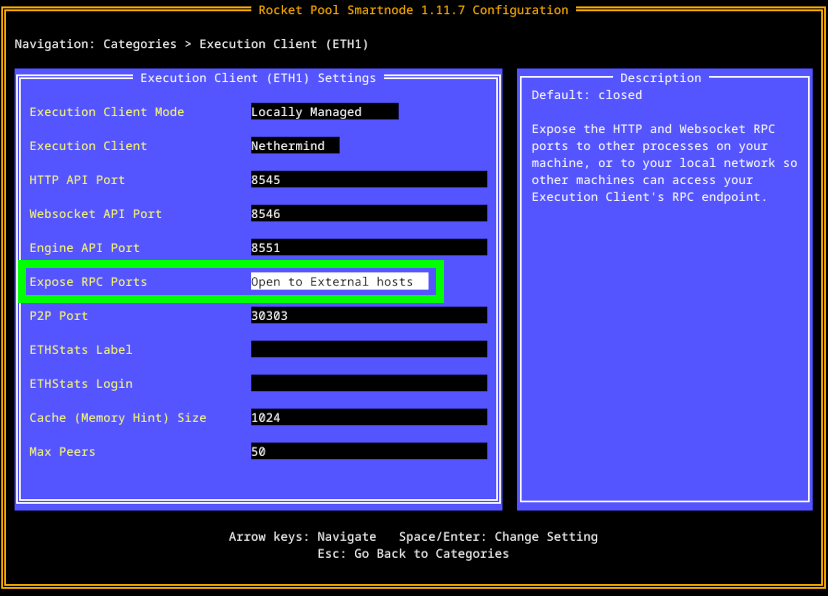
This will open the RPC ports (default 8545 for HTTP and 8546 for Websockets) on your node, so other machines on your local network can connect to them.
For example, if your node's local IP address were 192.168.1.45, then by enabling this option you could use http://192.168.1.45:8545 as the Execution client URL for your other services.
Beacon Node (Consensus Client)
To enable access to the Consensus client's Beacon Node, go to the Consensus Client (ETH2) category and check the Expose API Port box:
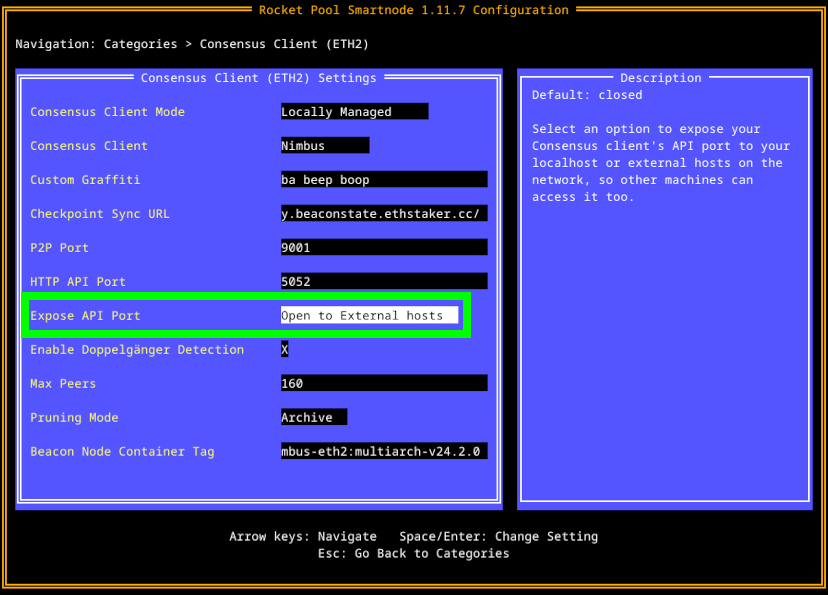
This will open the HTTP API port (default 5052) on your node, so other machines on your local network can connect to it.
When you expose RPC and API endpoints in using the Rocketpool configurator, ports are opened via iptables and therefore will not show up as a ufw firewall rule. To see which ports are open you can use sudo lsof -i -P -n | grep LISTEN or similar command.
For example, if your node's local IP address were 192.168.1.45, then by enabling this option you could use http://192.168.1.45:5052 as the Beacon Node URL for your other services.
Prysm has a second box called Expose RPC Port that must be checked if you want to attach an externally-managed Prysm Validator Client to your Beacon Node.
This is because Prysm's Validator Client cannot currently connect to a Beacon Node via the standard Beacon HTTP API.
In the future, this will be fixed and there will only be one checkbox like the other clients.
MEV-Boost
To enable access to MEV-Boost, go to the MEV-Boost category and check the Expose API Port box:
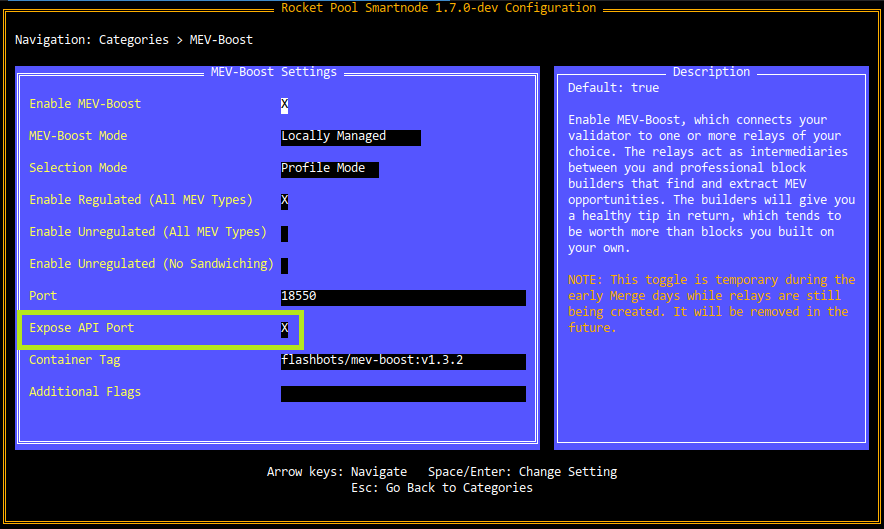
This will open the HTTP API port (default 18550) on your node, so other machines on your local network can connect to it.
For example, if your node's local IP address were 192.168.1.45, then by enabling this option you could use http://192.168.1.45:18550 as the MEV-Boost URL for your other services.
Customizing the Docker-Compose Definition Files
While the Settings Manager contains many options you can use to customize your node, it doesn't wrap all of the features that docker-compose provides.
Some users require supplemental customizations to the Smartnode's docker-compose files.
Because the docker-compose files are regenerated (into the runtime directory) from their templates (in the templates directory) each time rocketpool service start is called, modifying the runtime files is not advised.
Instead, we leverage docker-compose's inherent override functionality to let you make any modifications you need to which will be preserved upon restarts.
Furthermore, this system also preserves your modifications after an upgrade to or reinstallation of the Smartnode stack.
To do this, simply open the file for the container of your choice in the override folder, and add your customizations to it there.
Anything you put in these files will override whatever the corresponding settings are in the docker-compose files from the runtime folder.
For example, say you wanted to add AWS credentials to Grafana for CloudWatch support.
You could do it by modifying override/grafana.yml like so:
This will merge the four environment variables listed here to the existing array of environment variables in the Grafana container.
Alternatively, if you wanted to save eth1 client data to a non-default path on your filesystem, you would modify override/eth1.yml to contain volume parameters like:
This will merge the parameters into the eth1clientdata volume specification, causing /data/eth/eth1 to be the location of the eth1 client data rather than the default (/var/lib/docker/volumes/rocketpool_eth1clientdata if using default Docker configuration).
For more information on how docker-compose overrides work, please visit https://docs.docker.com/compose/extends/#adding-and-overriding-configuration.