Creating a Standard Rocket Pool Node with Docker
In this section, we will walk through the process of installing the Rocket Pool Smartnode stack using the standard Docker-based setup. This will install and configure everything you need to run a complete node, including:
- The Rocket Pool Smartnode software
- An Execution (formerly ETH1) client of your choice, or a connection to an existing client you already manage
- A Consensus (formerly ETH2) client of your choice, or a connection to an existing client you already manage
- A Validator client that will handle your Beacon Chain validation duties
- (Optionally) a monitoring stack for capturing performance and health metrics
All you need to do is tell it what you want to run!
The below instructions require you to use your system's terminal to enter and execute commands. If you are connected to the node machine via SSH, you are already doing this. If you are on the node machine and using a Desktop UI, you will need to open a terminal window to execute the following commands. Refer to your OS's instructions to learn how to do this if you are unfamiliar.
Process Overview
At a high level, here's what is involved in installing Rocket Pool:
- Download the Rocket Pool command-line interface (CLI)
- Use the CLI to install the Smartnode stack
- Configure the Smartnode stack with an easy-to-use UI in the terminal
- Done!
Before You Start
If using Ubuntu, it is recommended that before installing Rocket Pool you double check that docker was not installed alongside the operating system.
The Ubuntu installer gets docker from the snap package manager, which will conflict with the version of docker installed by Smartnode.
Run snap list, and make sure docker was not installed.
For example, this is the output on a machine where docker is not installed:
And here is the output if it was installed:
If you see it in the snap list output, be sure to remove it with:
After which, it is recommended that you reboot the machine (sudo systemctl reboot)
Downloading the Rocket Pool CLI
The instructions for downloading the CLI vary based on your Operating System.
You must perform the following instructions on the machine you will use for your Rocket Pool node. If you are not using a keyboard and monitor directly connected to your node machine, you will need to access it remotely (e.g. via SSH) and run these commands on it through that remote connection.
On Linux, start by creating a new folder that will hold the CLI application:
Next, download the CLI. This depends on what architecture your system uses.
TIP
If you do not know your CPU architecture, you can run the following command to find it:The output of this command will print your architecture.
Note that x86_64 is the same as x64 and amd64.
Note that aarch64 is the same as arm64.
For x64 systems (most normal computers):
For arm64 systems:
Mark it as executable, so it has permissions to run:
Next, log out and log back in (or close SSH and reconnect), or simply restart.
This is because the path that you saved the CLI to (~/bin) may not be in your system's PATH variable (the list of places your system searches for executables) yet.
Logging out and back in will put it there.
Now, test running it with the --version flag.
You should see output like this:
TIP
If you see an error message like this,it means that you downloaded the wrong version above. Please check if your system is x64 or arm64 using the command in the tip above, and download the appropriate version. If your system is neither of those, then you will not be able to run Rocket Pool.
Installing the Smartnode Stack
Now that you have the CLI installed, you can deploy the Smartnode stack. This will prepare your system with Docker, docker-compose, and load the Smartnode files so they're ready to go. It won't actually run anything yet; that comes later.
To deploy the Smartnode stack, you will need to run the following command on your node machine (either by logging in locally, or connecting remotely such as through SSH):
This will grab the latest version of the Smartnode stack and set it up. You should see output like this (above some release notes for the latest version which will be printed at the end):
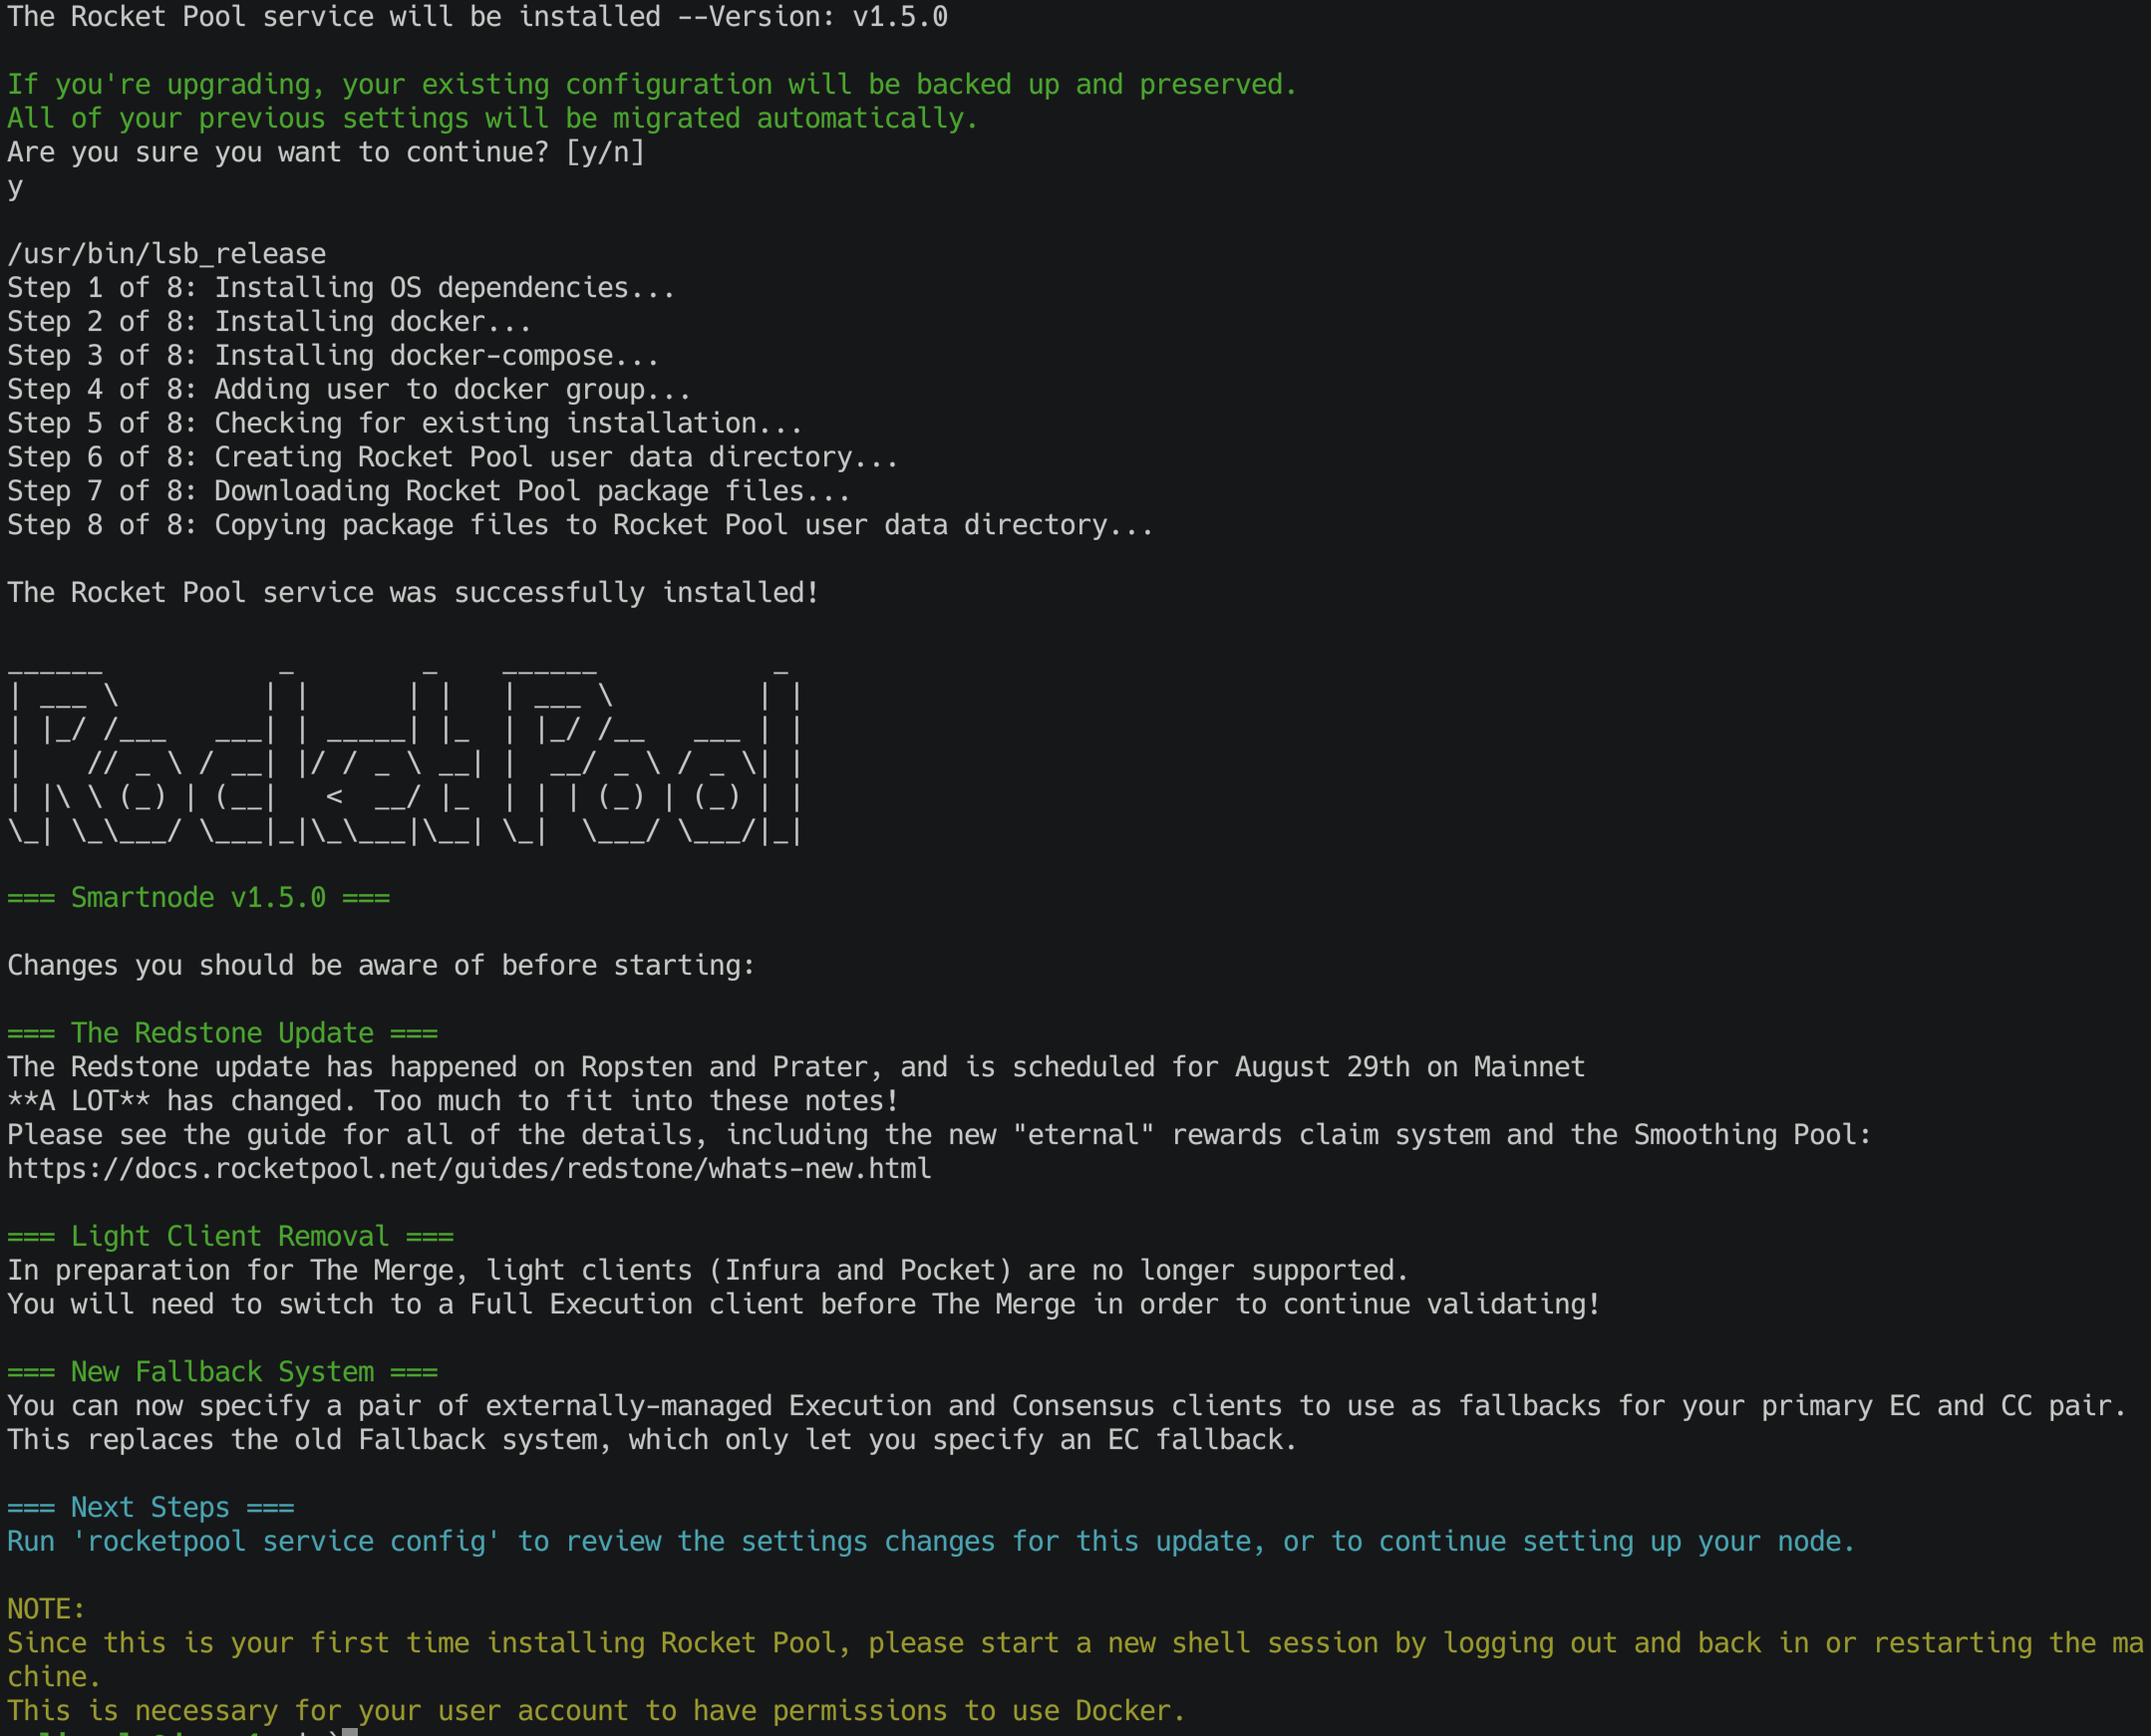
If there aren't any error messages, then the installation was successful.
By default, it will be put into the ~/.rocketpool directory inside of your user account's home folder.
Note that the Smartnode installer cannot install docker and docker-compose on all platforms automatically.
If you receive an error message like this during the installation:
Then you simply have to install those two things manually.
Docker provides common install instructions here.
Docker-compose provides common install instructions here.
Once both are installed, make sure you give your user account permission to use Docker:
Finally, re-run the installer with the -d flag to skip Docker installation:
After this, log out and back in or restart your SSH session for the settings to take effect.
Once this is finished, the Smartnode stack will be ready to run.
Configuring Docker's Storage Location
By default, Docker will store all of its container data on your operating system's drive. In some cases, this is not what you want.
If you are fine with this default behavior, skip down to the next section.
To do this, create a new file called /etc/docker/daemon.json as the root user:
This will be empty at first, which is fine. Add this as the contents:
where <your external mount point> is the directory that your other drive is mounted to.
Press Ctrl+O, Enter to save the file, and Ctrl+X, Enter to exit the editor.
Next, make the folder:
Now, restart the docker daemon so it picks up on the changes:
After that, Docker will store its data on your desired disk.
Configuring the Smartnode Stack
The next step in the installation process is to do an initial configuration of your node. Move on to the Configuring Rocketpool section for a walkthrough of this process.