Configuring a Tailscale VPN Server
This is optional. You only need to consider this section if you run a node at home and would like to connect to it from outside of your home network.
If you would like to log into your home network remotely, such as while on vacation or on a business trip, the most common route is to use a Virtual Private Network server. This will allow you to connect to your node via SSH and monitor your Grafana dashboard from anywhere in the world, all without exposing your SSH port to the internet.
Many Rocket Pool node operators use Tailscale as their VPN server of choice for this. Tailscale is an open source P2P VPN tunnel and hosted endpoint discovery service. It takes care of authentication, publication, and the NAT traversal required to establish an end-to-end encrypted path between your machine and your node without sending any sensitive traffic to a centralized server. It is a very powerful tool.
We will briefly cover a basic configuration of it, but feel free to review their documentation for more details.
Setting Tailscale Up
First, create a free Tailscale account. Tailscale requires the use of an SSO identity provider such as Google, GitHub, Okta, Microsoft, etc. For details, visit their SSO Page.
It is recommended that you enable 2FA (Two Factor Authentication) on whichever identity provider you choose for added security.
Next, follow their onboarding guide to install Tailscale on your client - the machine you want to connect to your network with. For example, this could be a laptop or your phone. Note that it is not your Rocket Pool node!
Once completed you should see your computer as 'connected' on the Tailscale dashboard.
Now, install Tailscale on your Rocket Pool node. You can find instructions for this on their website; for example, here are the installation instructions for Ubuntu.
If you have UFW configured, you will also want to follow the UFW Configuration Instructions).
First, add Tailscale’s package signing key and repository on your Rocket Pool node:
Now, install Tailscale on your Rocket Pool node:
Finally, authenticate and connect your machine to your Tailscale network on your Rocket Pool node:
You’re connected! You can find your Tailscale IPv4 address by running:
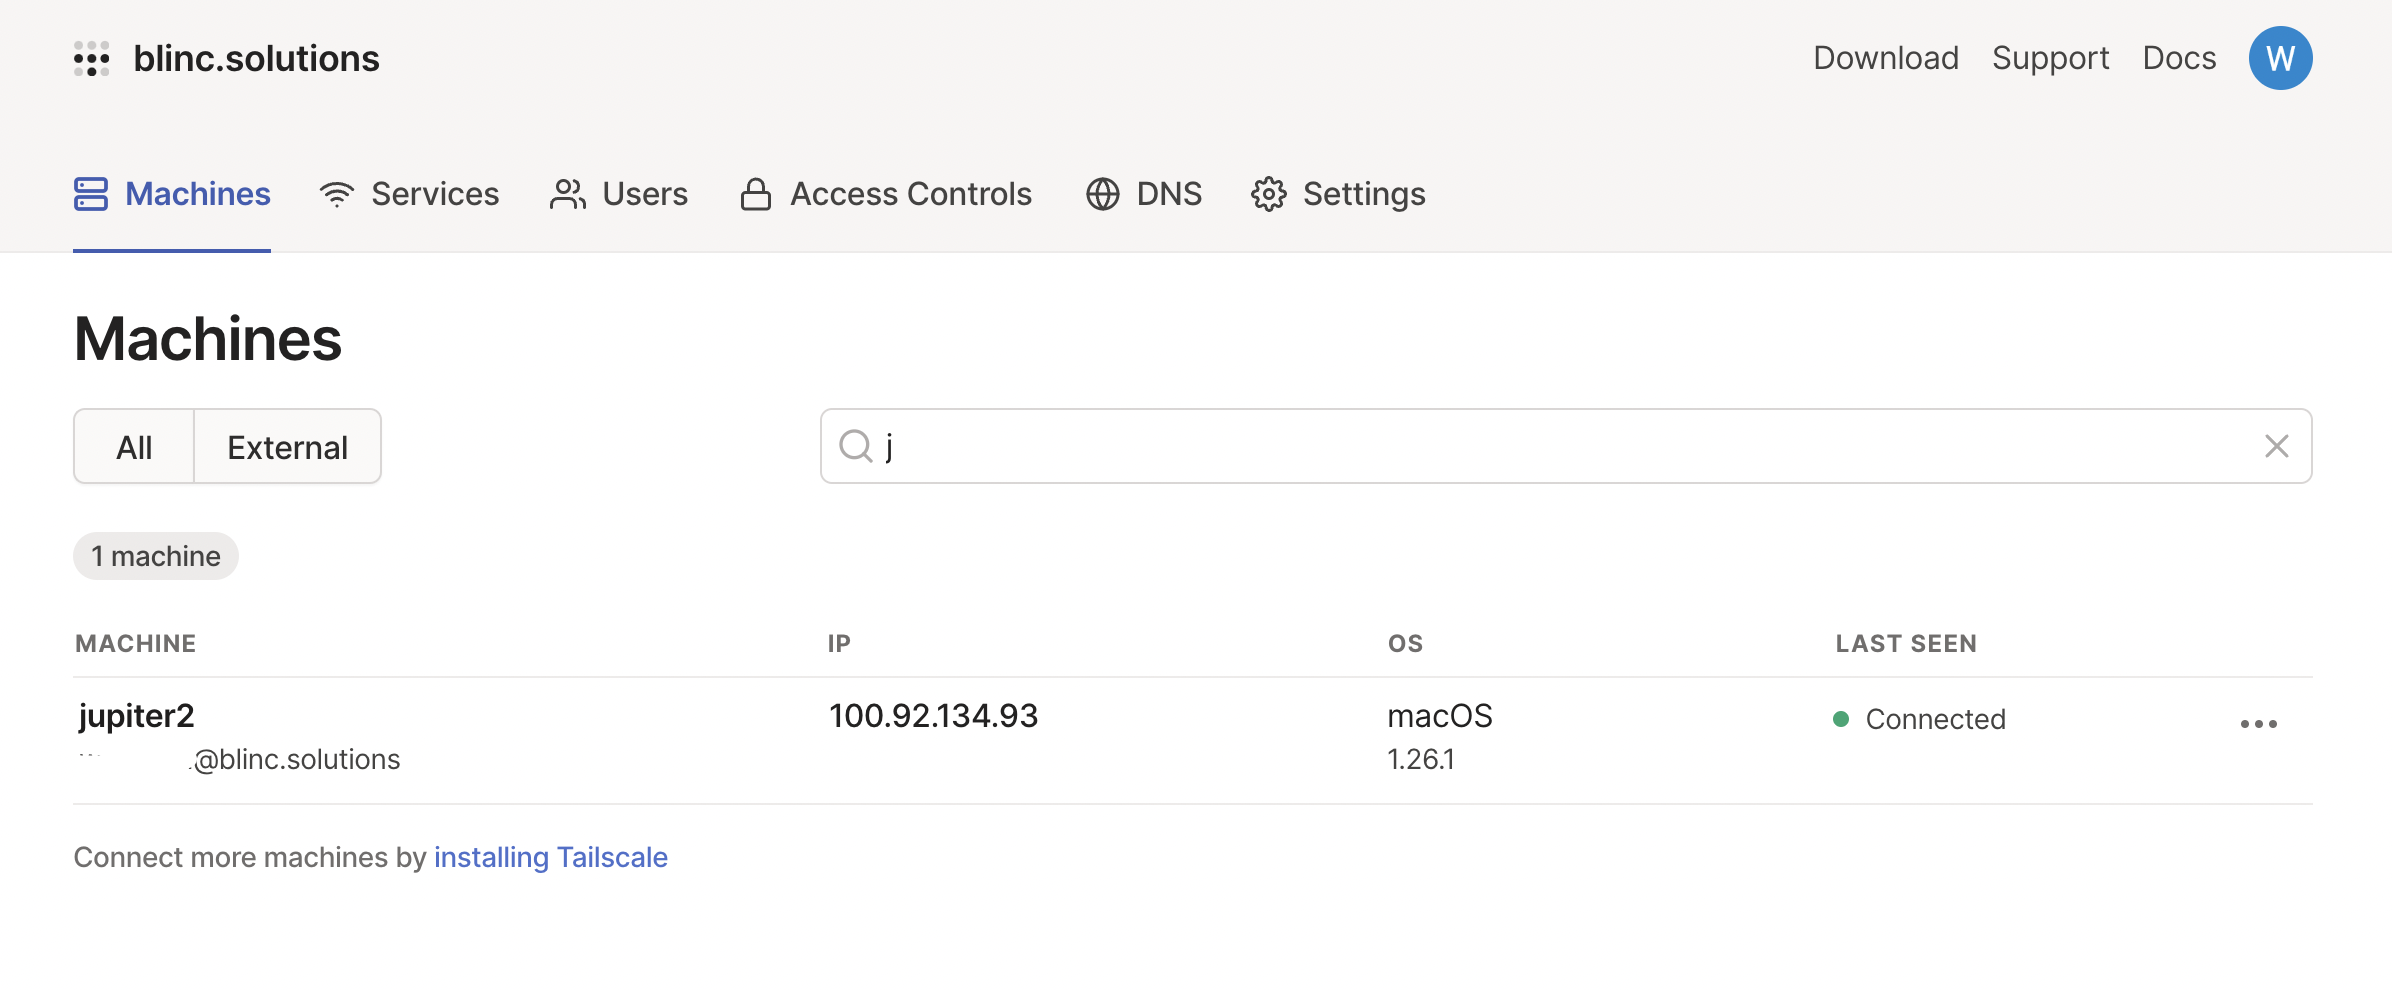
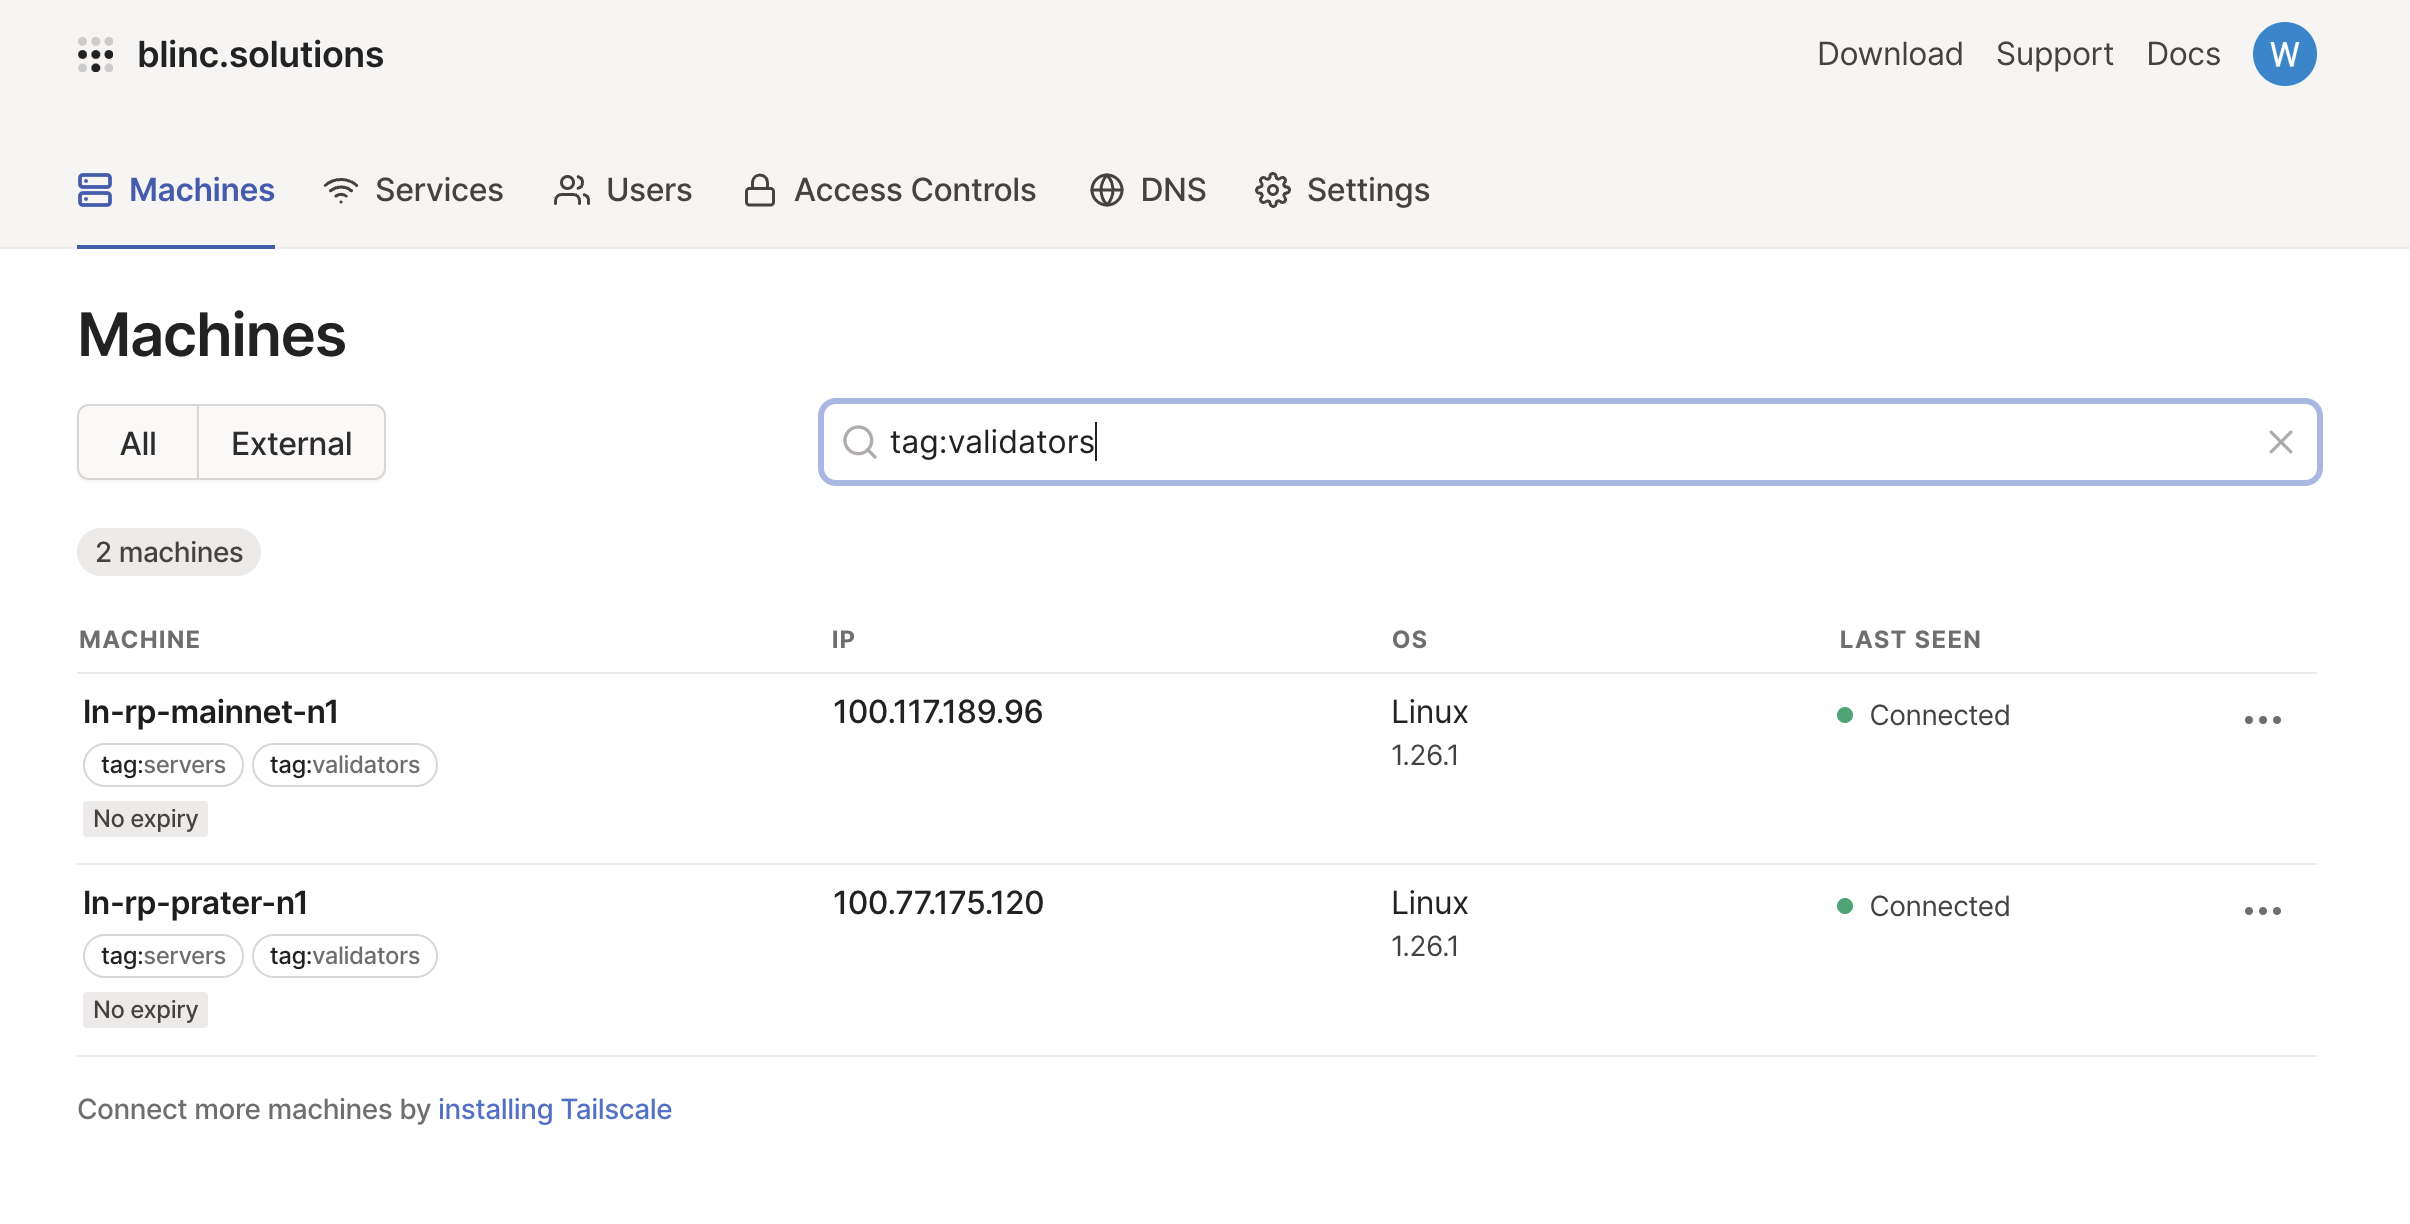
You should now see your node machine added to the on the Tailscale dashboard.
You may also change the name of the node machine through the dashboard, e.g. to rocketnode.
It is suggested to disable key expiry for the node machine to prevent the need to periodically re-authenticate.
If you would like to access your node using a memorable hostname such as rocketnode, you can do so by enabling MagicDNS in the Tailscale settings.
You should now be able to exit the SSH session to your node on your client, and SSH into your node again through Tailscale using ssh your.user@rocketnode.
If you modified the SSH port of the node machine in /etc/ssh/sshd_config when you first configured it, use ssh your.user@rocketnode -p <your port> instead.
For example, if you assigned SSH to port 1234, you would do:
You can now also visit http://rocketnode:3100 in your web browser to access your Grafana dashboard from your client.
If you have UFW configured, you can now add a rule to accept any incoming SSH connections over Tailscale.
The following steps will modify your firewall rules. **You must have at least 2 SSH sessions open to your node machine before proceeding - one for modifying the configuration and testing it afterwards, and one that will stay logged in as a backup in case your changes break SSH so you can revert them!
Run these commands on the node machine.
Allow access to all incoming ssh connections over Talscale.
You may also remove access to the SSH port adding from the enabling a firewall steps to completely lock down your node. Note that you will not be able to login from the local network as tailscale will become the only way to login. Only run the following command if you are okay with this.
Once you’ve set up firewall rules to restrict all non-Tailscale connections, restart UFW and SSH:
Now, confirm that everything is working as expected.
exit from one of your current SSH sessions (but remember to keep the second one open as a backup).
Next, connect to the node machine via SSH using the Tailscale IP address:
If it works, you did everything right and can now safely log into your home network while abroad!
If you've previously port forwarded your node's SSH port in your router, you can now remove it.